Create a job opening
- 01 May 2024
- 1 Minute to read
- Print
- DarkLight
Create a job opening
- Updated on 01 May 2024
- 1 Minute to read
- Print
- DarkLight
Article summary
Did you find this summary helpful?
Thank you for your feedback!
In Talenteria, you can create and manage job openings that you can publish on your career sites, which are also created in Talenteria. The job opening status defines whether it is published on your career sites.
To create a new job opening, follow these steps:
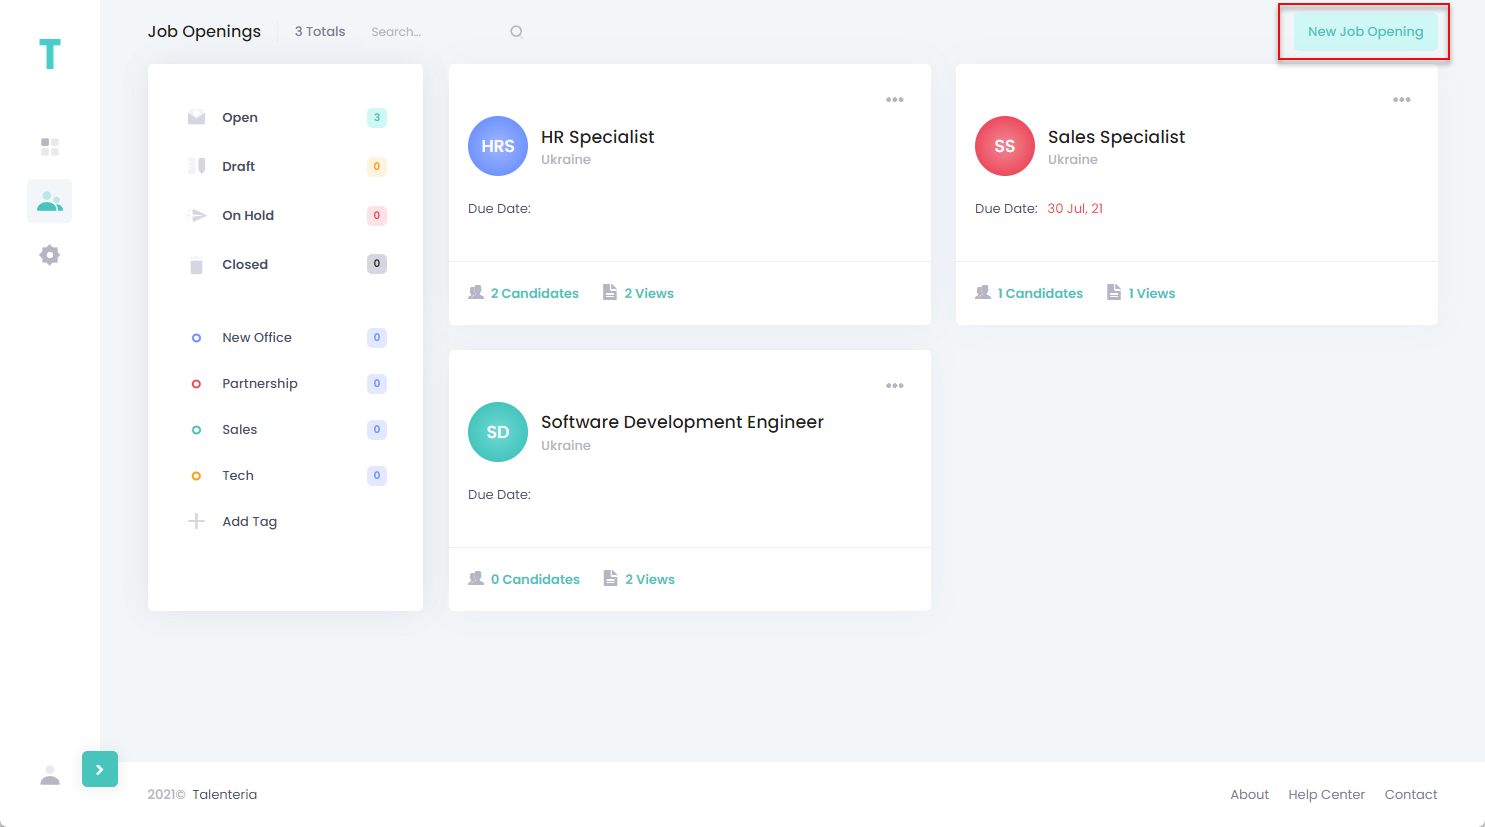
- Go to Job Openings > Job Openings.
- Select the New Job Opening button.

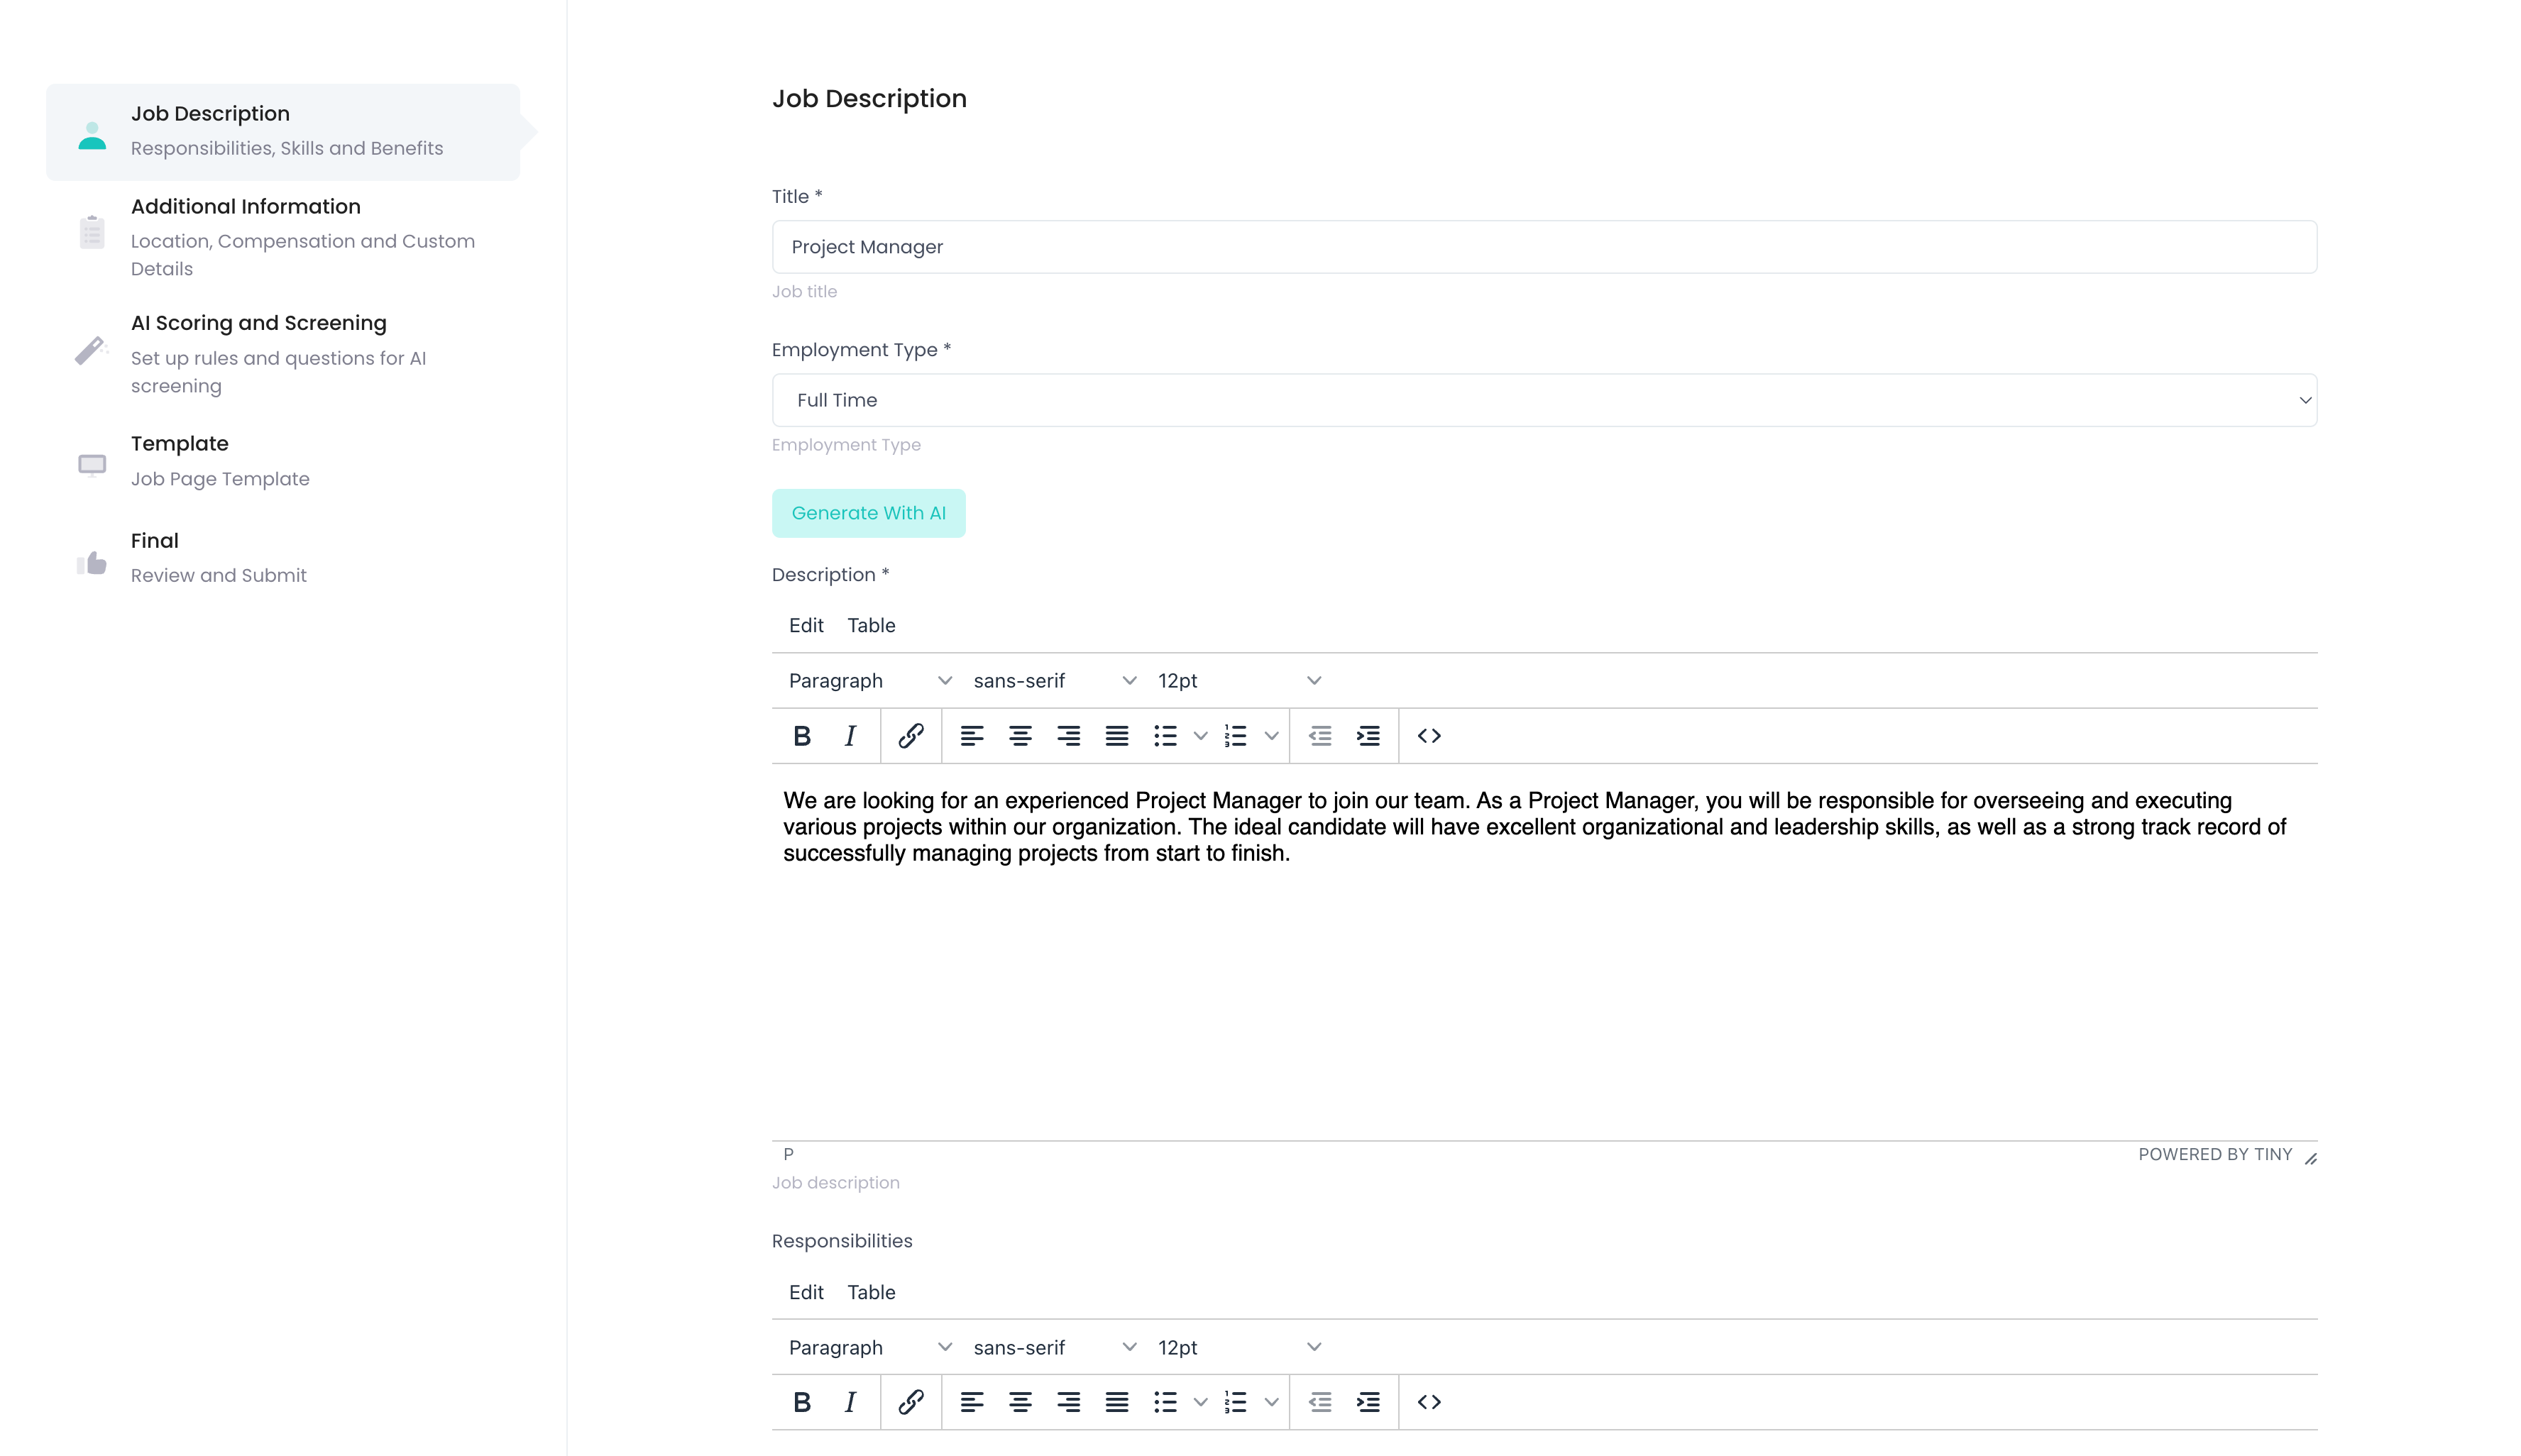
- On the Create Job Opening form, fill in the fields on the following section:NoteThe set of fields available for filling in depends on the job opening field settings.
Job Description

- Title,Description, Responsibilities, Requirements, and Job Benefits – will be published in the Jobs list on a Career Site
- Generate with AI button will get a job description to be generated by Talenteria AI
Additional Information

- Recruiters – Specifies the users responsible for the job. These users will receive notifications and email about this job.
- Location – Specifies the location of the job opening, such as country, city, office, etc.
- Due Date – Specifies the date until the job opening ad will be valid.
- Job Category – Specifies the job opening category to which the associated job opening belongs. Select a job opening category from the list. The set of available job opening categories depends on the job opening category settings.
Set the job status: - Open – The vacancy is open and job opening is published on your career sites. This is the default status for a new job.
- Draft – The job opening is a draft version, not yet ready to be published.
- On Hold – The published job opening is temporarily unpublished.
- Closed – The vacancy is closed and the job opening ad is unpublished.
- Optionally, attach a tag(s) to the job opening. You will be able to filter the job openings by these tags. You can create new tags on the Job Openings page or in the job opening tags settings.
- Select the Save button.


