Once you've configured your integration of Talenteria with Zapier, both in Talenteria and in your Zapier account, you can start creating workflows, called zaps, using the Talenteria app.
Log in to your Zapier account, go to Zaps, and then select Make a Zap.
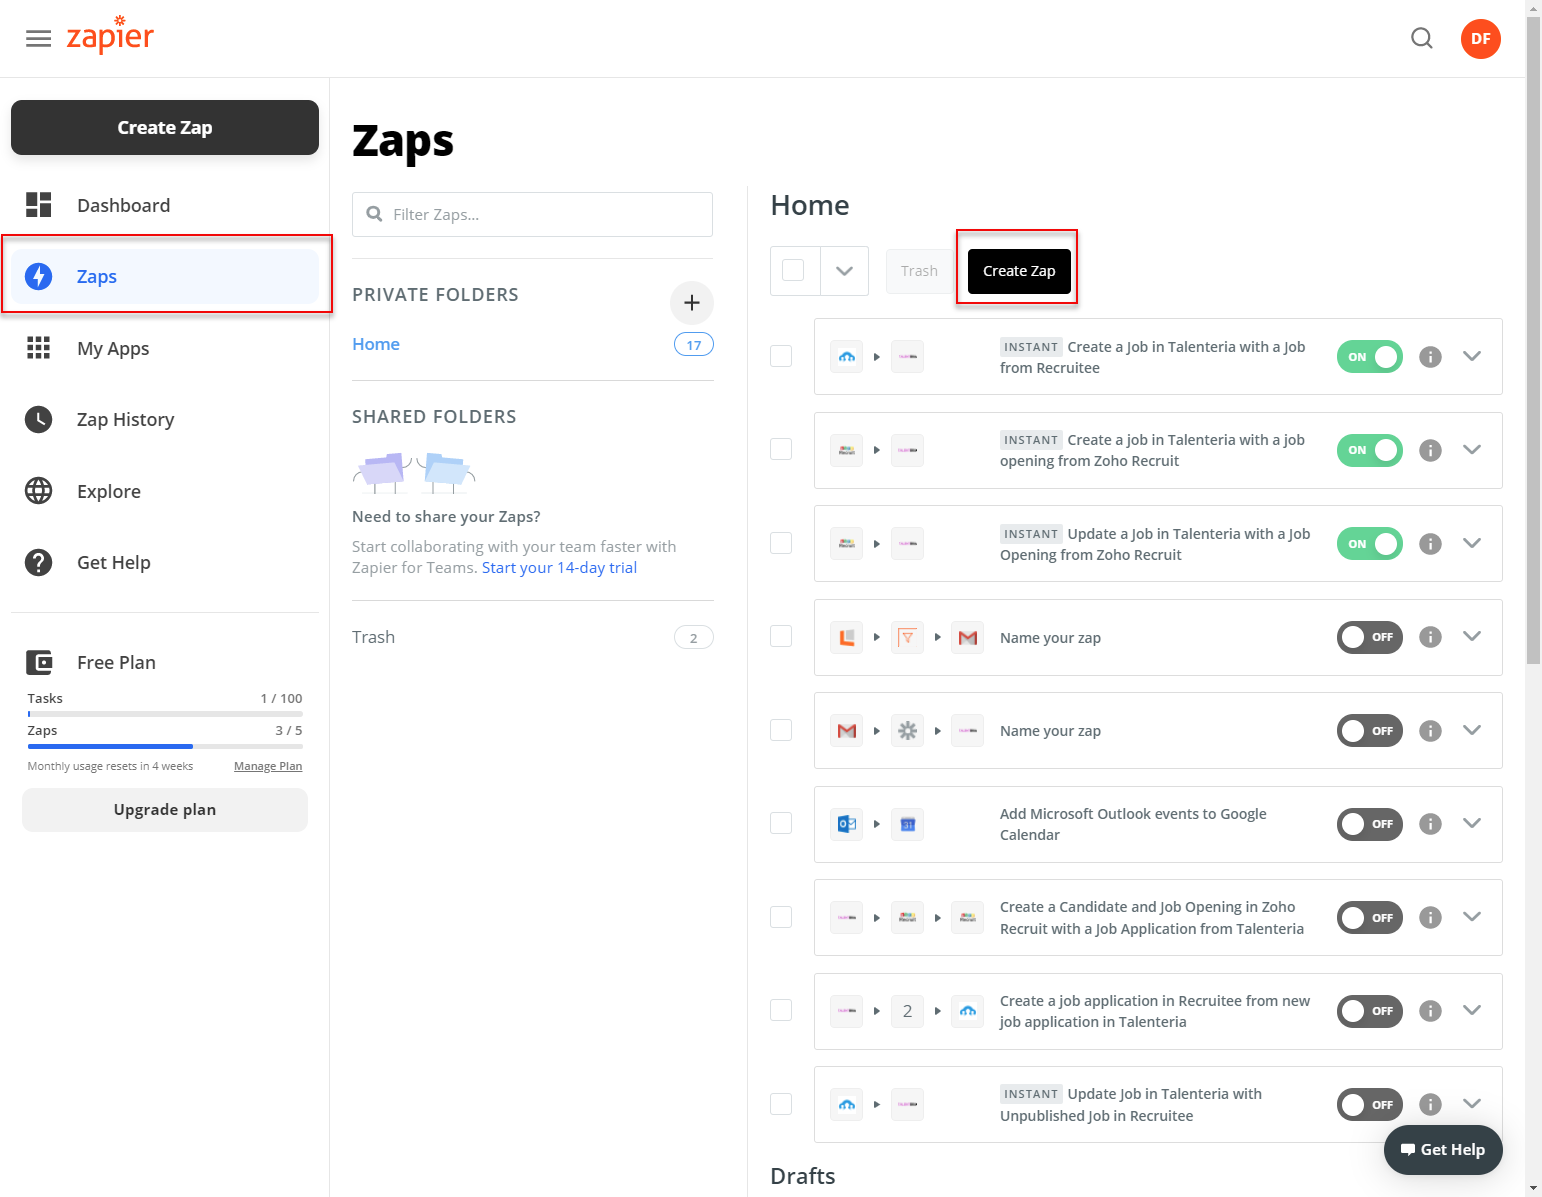
The process of creating a zap consists of the following major steps. For detailed information, refer to the Zapier documentation on how to create zaps.
1. Add a trigger
The trigger defines when an action(s) is performed.
For the trigger, you need to specify the following:
- Choose your trigger app: the Zap will be triggered by an event that occurs in this app:
- Select the Talenteria app if you want an action in another application to be triggered by an event in Talenteria.
- Select any other application if you want an event in that application to trigger an action in Talenteria.
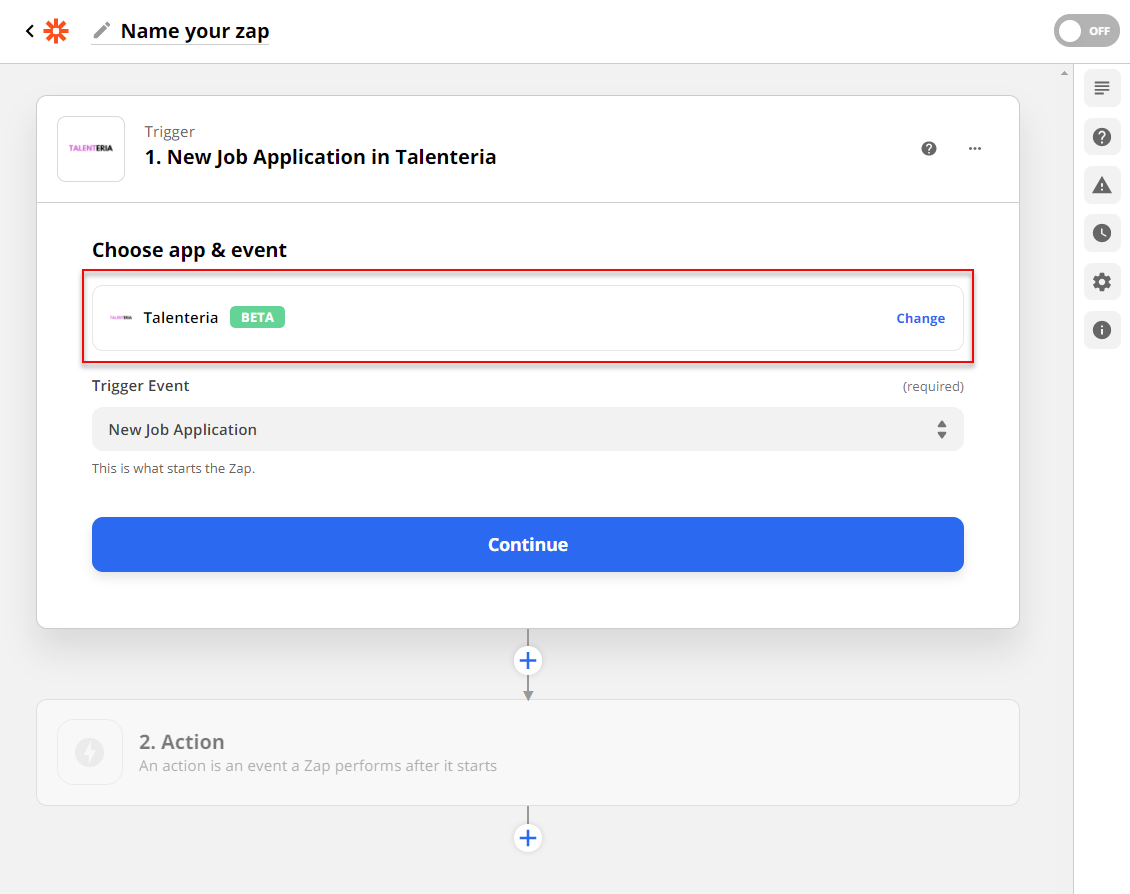
- Select your trigger event: this will be the event that occurs in the selected app that triggers the Zap. If you selected the Talenteria app, the following event is available as a trigger:
- New Job Application – This event triggers when a new job application is created (a candidate applies for a job on a career site by filling in the application form or a candidate is manually linked to a job).
- Select your app account: select or connect the specific app account to use in the Zap trigger.
- Set up your trigger: set up your trigger options to fit your needs.
- Test your trigger: test your trigger to see if it pulls in the right data.
When your trigger is set up successfully, a green checkmark icon will appear in the top left of the step.
There are two types of triggers in Zapier:
- Polling trigger: the majority of triggers are polling triggers (including the Talenteria app's trigger). With a polling trigger, Zapier will check for new data from your trigger every 1 to 15 minutes in order to start your Zap, depending on your pricing plan.
- Instant trigger: with an instant trigger, your trigger app will send Zapier an instant notification whenever there's new data. Zaps with instant triggers are labeled Instant on your dashboard and in the Zap editor.
2. Add an action
An action is what will be done when the specified event is triggered.
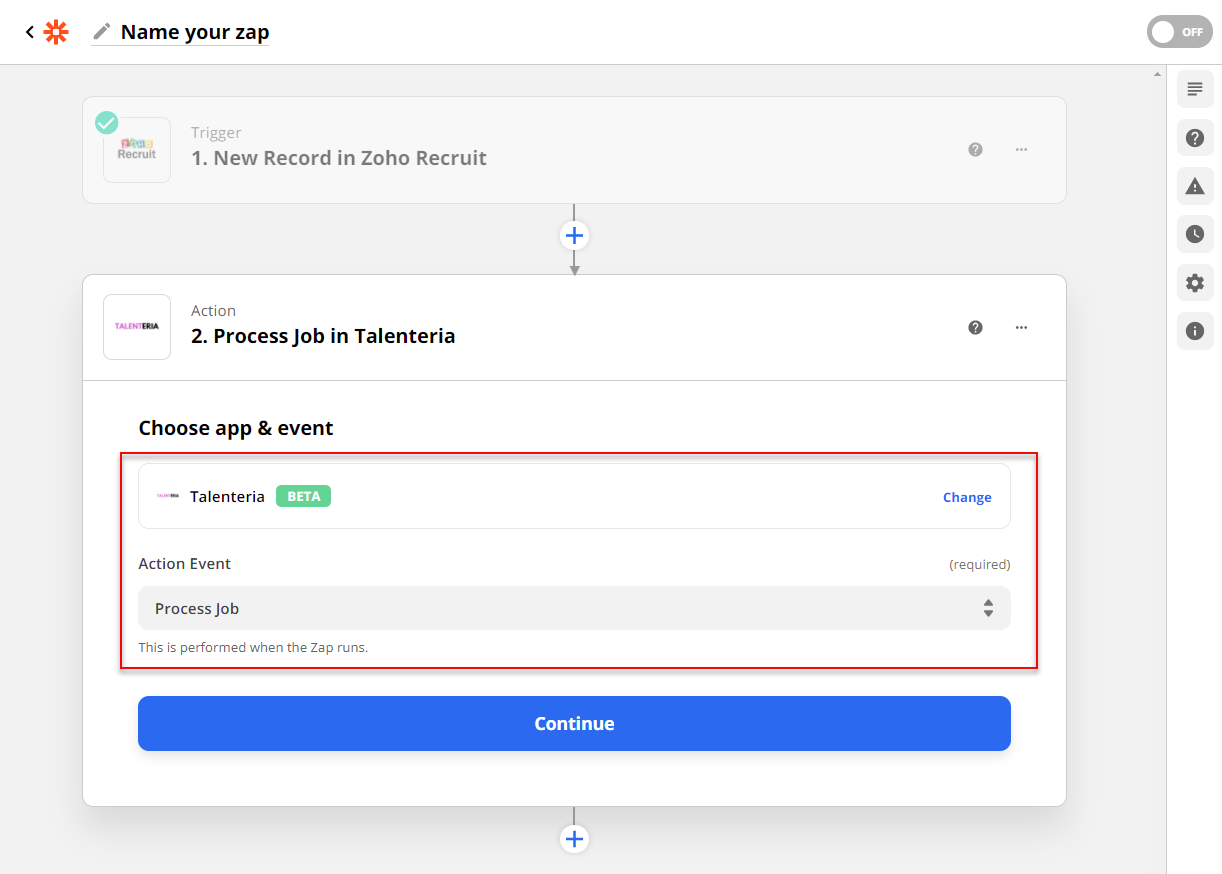
- Choose your action app: the Zap will perform an action in this app when it is triggered:
- If you chose the Talenteria app in the trigger step, choose any other app here.
- If you chose any other app in the trigger step, choose the Talenteria app here.
- Select your action event: this will be the event that the Zap performs in the selected app when it is triggered. If the action is in the Talenteria app, the following event is available:
- Process Job – Creates or updates the job in Talenteria. If a job with the same integration entity ID already exists, the job will be updated, otherwise, a new job will be created.
- Process Job – Creates or updates the job in Talenteria. If a job with the same integration entity ID already exists, the job will be updated, otherwise, a new job will be created.
- Select your app account: select or connect the specific app account to use in the Zap action.
- Set up your action: set up the data that you want to send over to your action app. If you are setting an action for the Talenteria app, map at least the required fields. For the Process Job action, the Integration Entity ID field is used to identify whether the job should be created or updated (if a job with the same integration entity ID is found, it will be updated, otherwise, a new job will be created). For this field, specify a field in the connected app that is used to identify a job opening.TipBecause Zapier allows you to connect Talenteria to multiple different apps, theoretically this integration entity ID, which is used to identify whether a job already exists in Talenteria, can coincide in different connected apps. Therefore, in case you connect Talenteria to multiple different apps, we recommend adding a prefix (for example, the name of the connected app) in addition to mapping a field in the Integration Entity ID field when you are setting up an action in Talenteria in a zap. This will make the integration entity ID unique for every connected app. E.g. When using integration with Zoho Recruit, you can add the Zoho tag before the ID field that you map to the Integration Entity ID field.

- Test your action: test your action to see if it's working as expected.
When your action is set up successfully, a green checkmark icon will appear in the top left of the step.
3. (Optional) Add more actions
You can customize your Zap further with any of the following:
Additional action steps: to add more actions, click the + icon after a step.
Search steps: use a search step to find existing data in your apps.
Filters: add filters to restrict your Zap from running unless certain conditions are met.
Formatter: add Formatter steps to format data in a Zap, such as editing text or changing a date format.
Delay: add a delay between Zap steps.
Paths: add paths to perform different actions in your Zap based on different conditions (Professional plans and above).
4. Name your Zap
To easily identify your zap on your dashboard, give it a name. In the upper left, select Name your Zap and enter a new name.
To add more information about your Zap, give your Zap a description. In the right sidebar, click the gear icon to open the Settings tab, then enter your text in the Description field. Your changes will be saved automatically.
5. Turn on your Zap
In the upper right corner, click to toggle the switch ON.