Add and manage clients
A client is whoever you hire for: a customer of your agency, or a department of your own organisation. You need to be an Administrator. Go to Settings › Clients.
The list shows each client's Name (the contact), Company, Phone and Job Title. Use search to find one.
Add a client
- Click New client.
- Enter the Company (or department name), and the contact's Full Name and Email Address. These three are required.
- Add other details if you like: Job Title, Reference Number, Sector, Primary Contact Number, Secondary Contact Number, Address, Description and Notes.
- Under Portal Users Emails, add the email address of each person who should use the employer portal. Leave it empty if the client won't use the portal.
- Click Save.
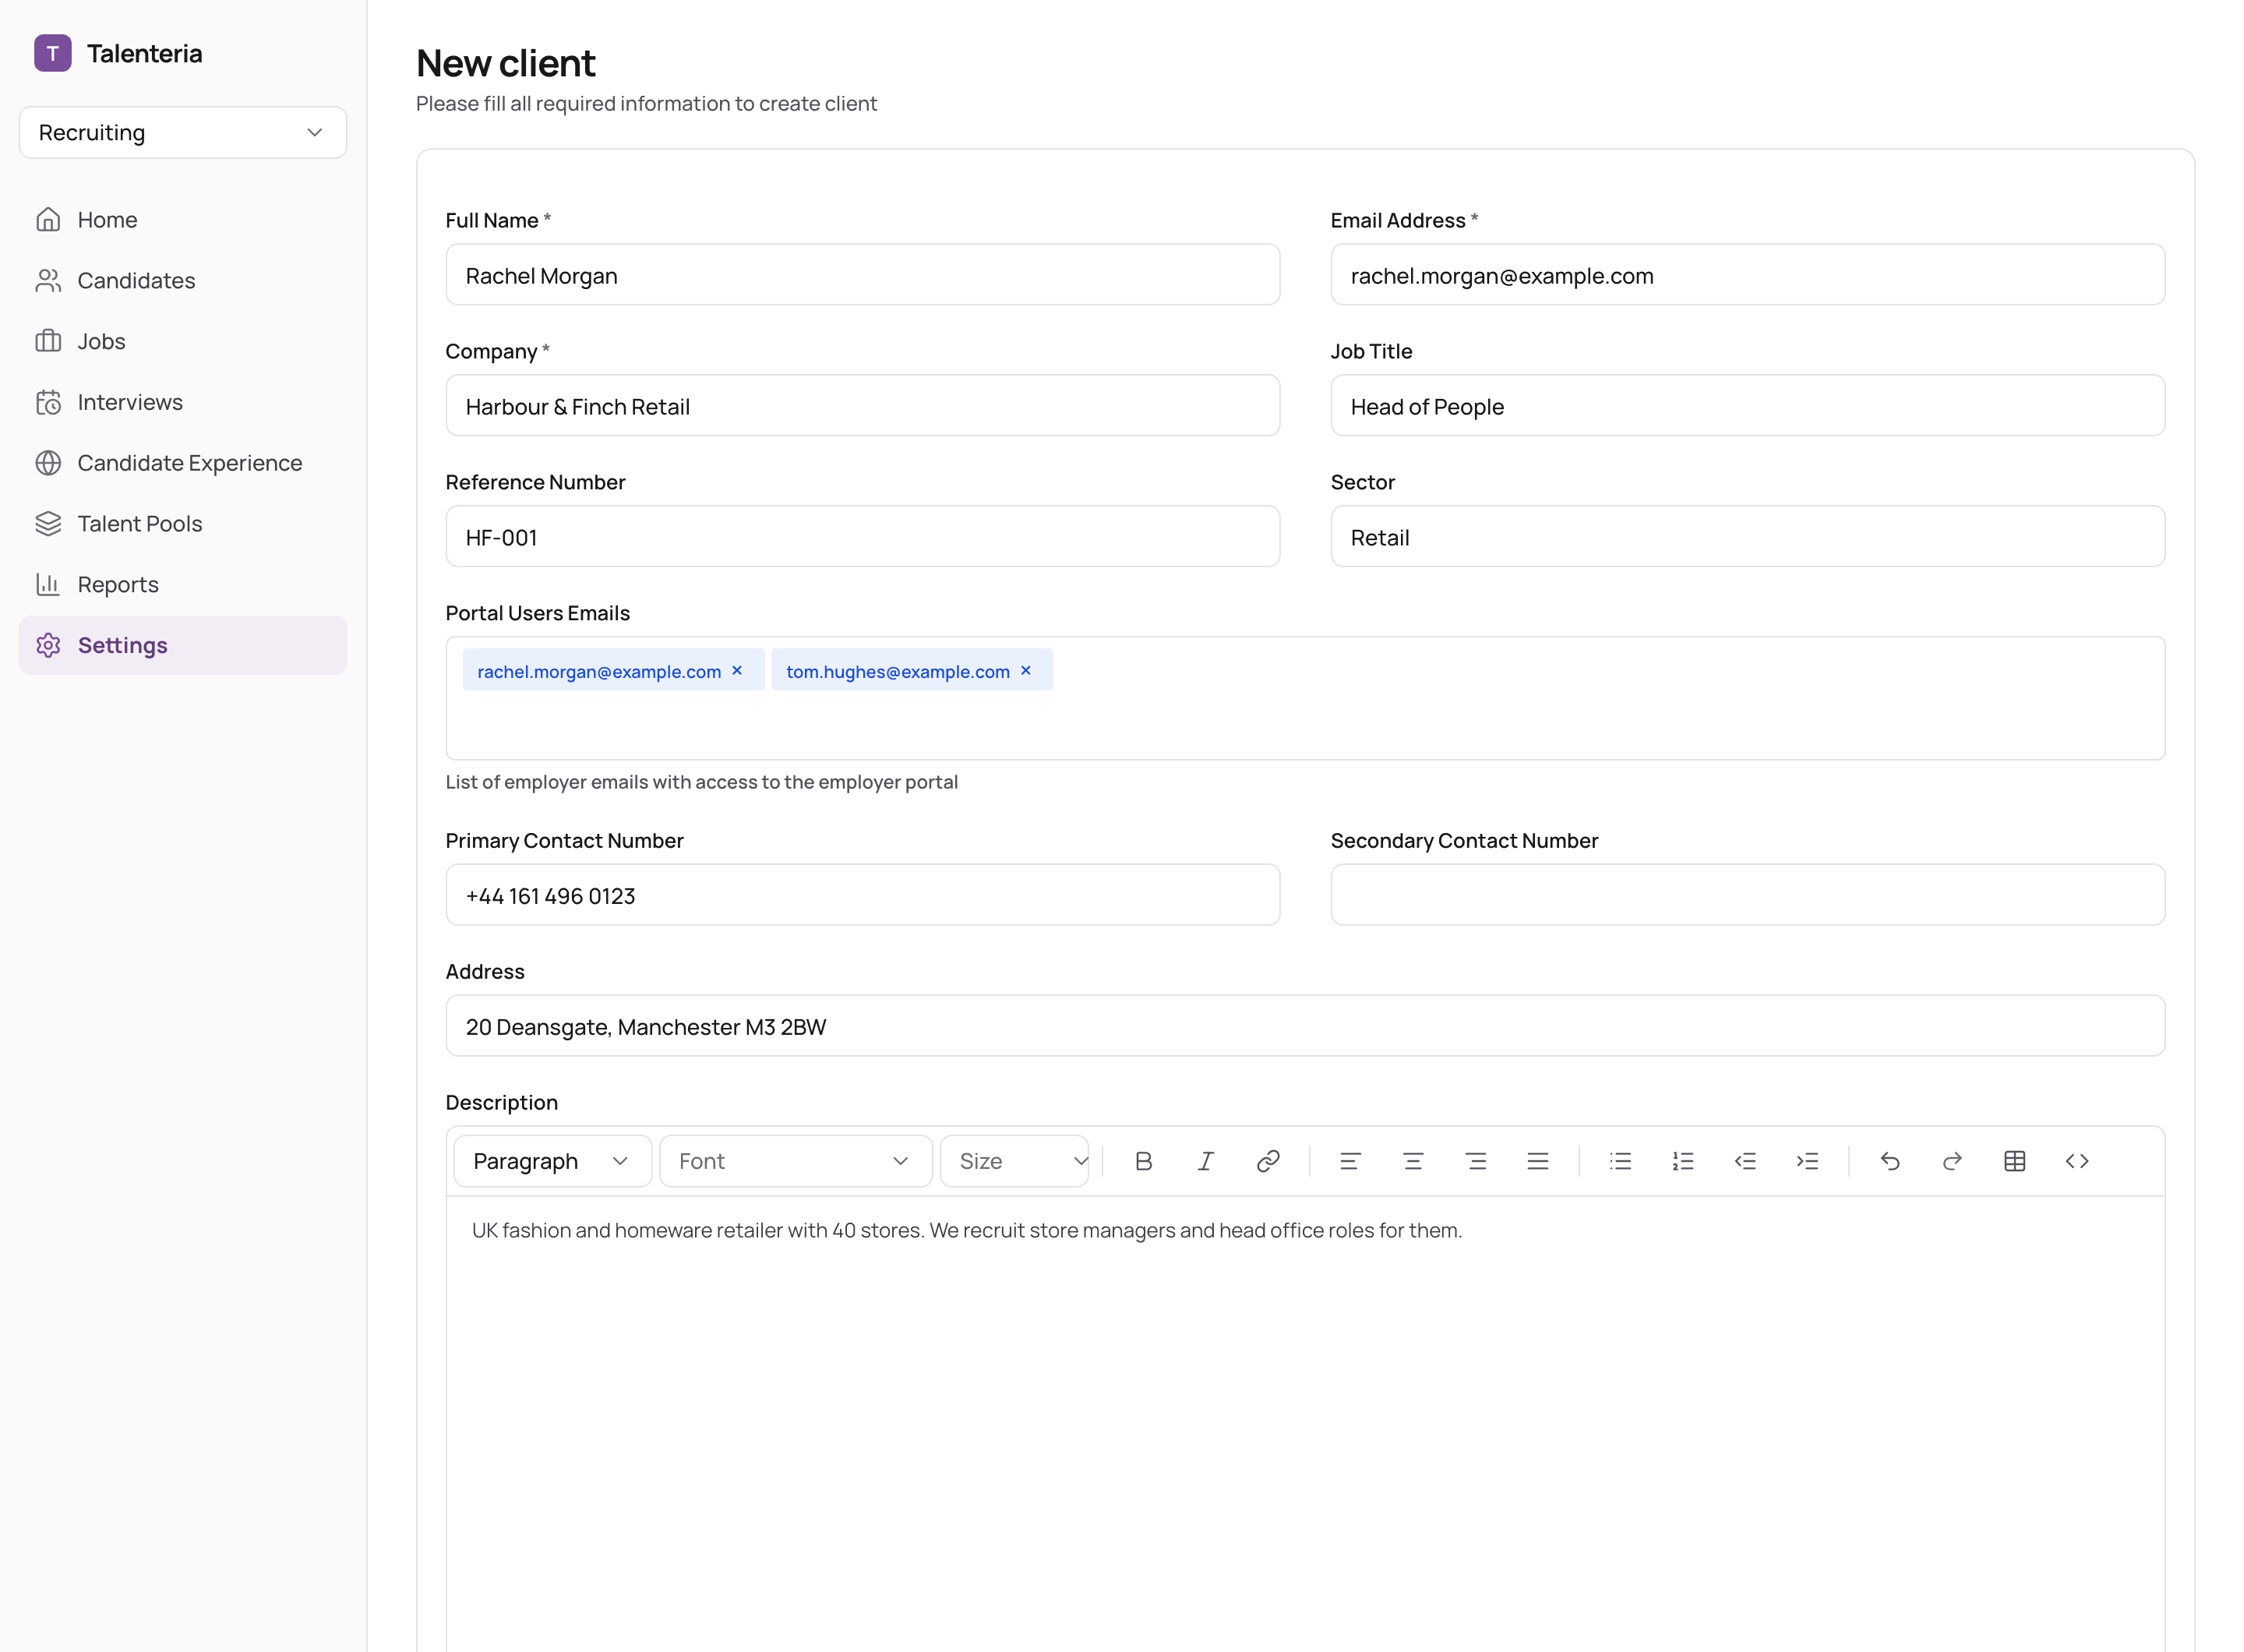
Each portal user gets an invitation email straight away. See Give a client's people access to the portal.
You can also add a client while creating a job: click New Client next to the job's Client field and enter the Full Name, Email Address and Company. Add portal users later in Settings.
See or edit a client
In the client's row:
- Details shows everything about the client (but not the portal users).
- Edit opens the same fields, plus Active. Click Save when done.
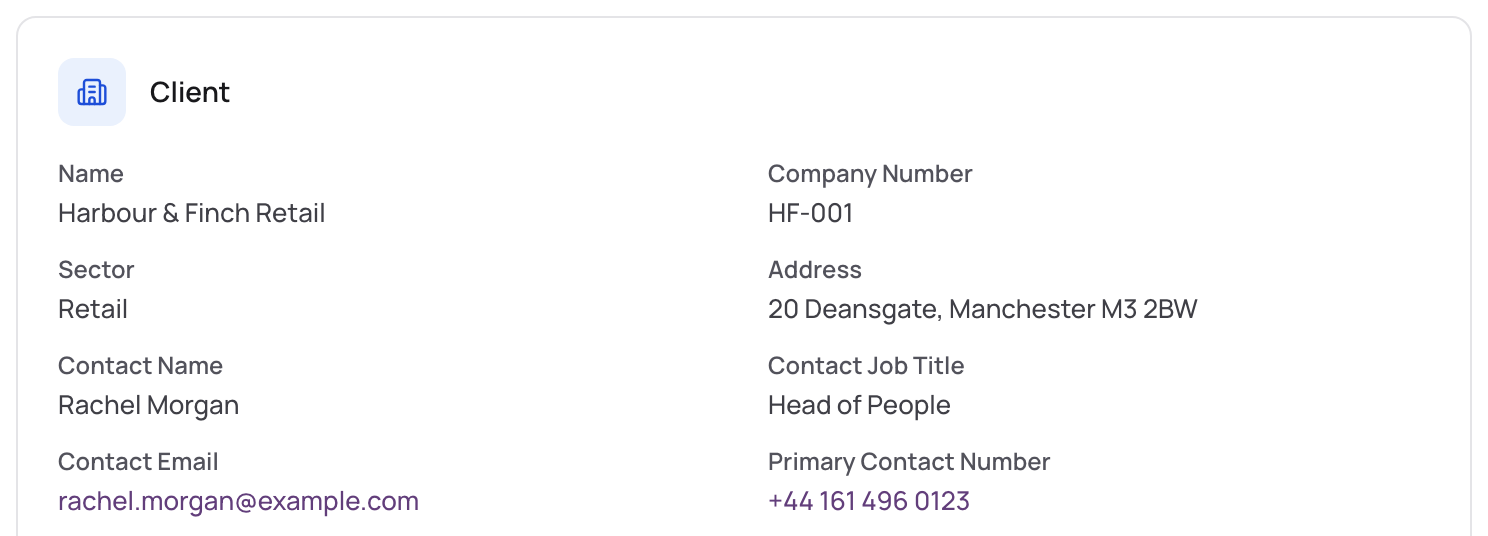
The client's details also appear on each of its jobs, on the job's Details tab, under Client. The Reference Number is shown there as Company Number.
Deactivate a client
- Click Edit and switch Active off.
- Click Save.
An inactive client can't be chosen on new jobs or offer templates. Its existing jobs keep it.
Deactivating doesn't remove portal access. To stop the client's people signing in, remove their emails from Portal Users Emails.
Delete a client
- Click Delete in the client's row.
- Confirm. This can't be undone.
What happens:
- The client's jobs stay, but no longer have a client.
- Offer templates for that client become templates for any client.
- The client's portal users can no longer sign in.
- Candidates you shared keep their badges, such as Approved by employer.