Create a job (or let AI write it)
- Go to Jobs and click New Job (or New job in Quick actions on Home).
- Choose how to start:
- Upload job description: AI reads your file and fills in the form.
- Generate with AI: enter a title and AI writes the description, responsibilities and requirements.
- Fill form: enter the details yourself.
- Send by email: shown when your account has a job email address. See Create a job by email.
- Go through the five steps of the form (below), then click Submit.
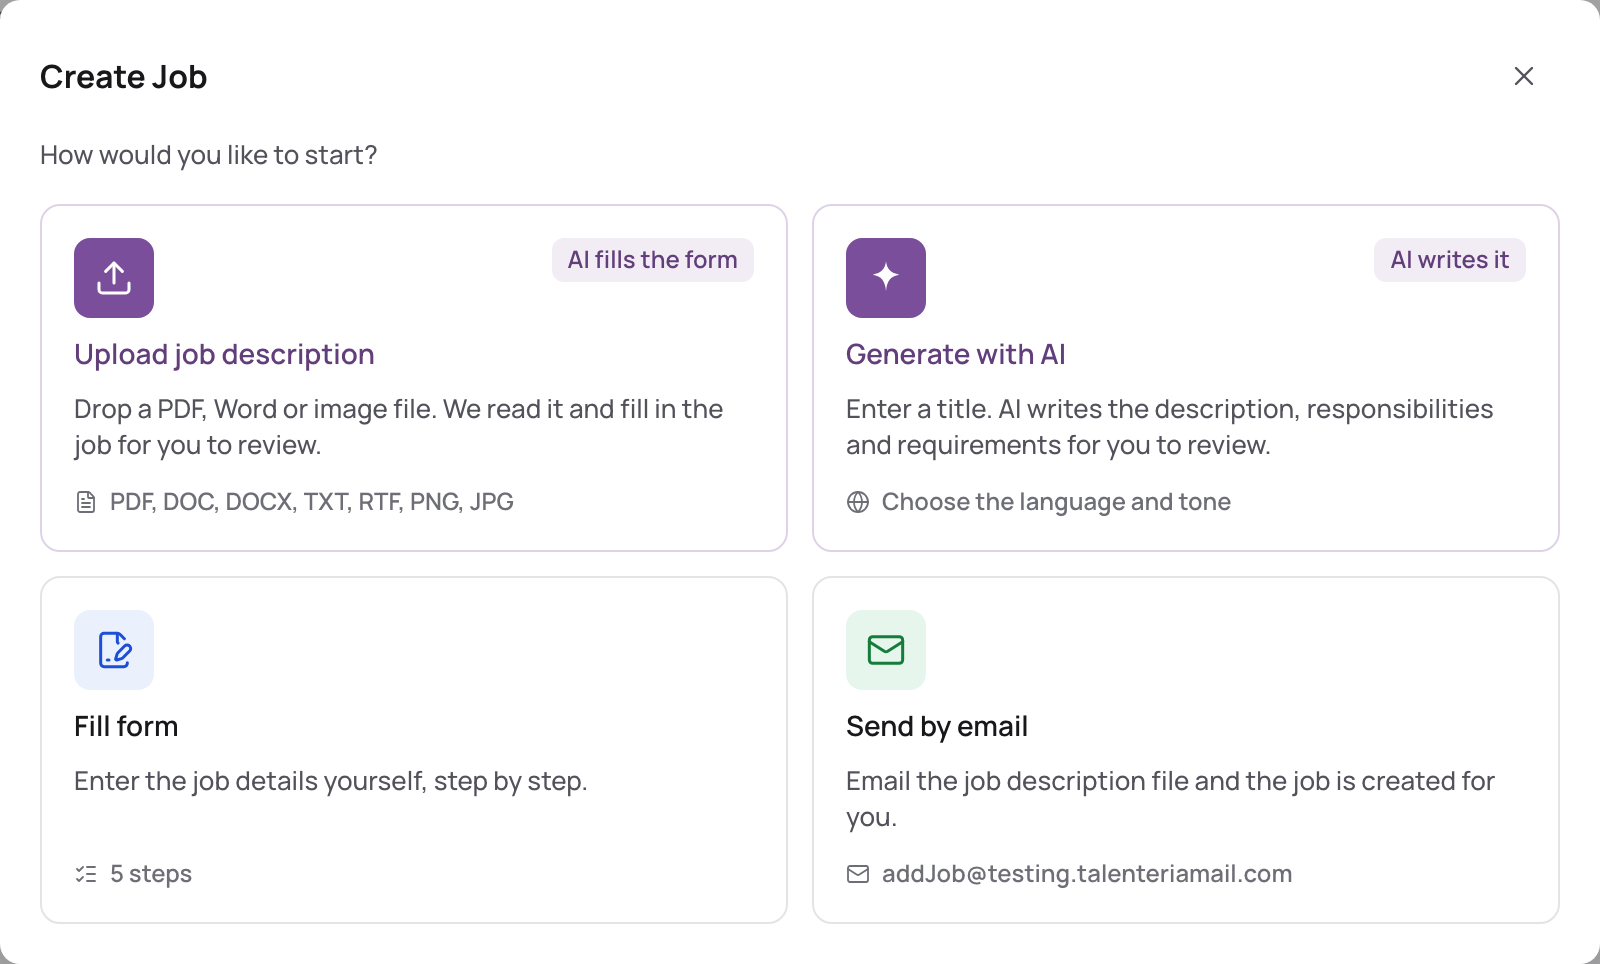
Start from a file
- Choose Upload job description.
- Drag the file onto Drag and drop the job description here, or click to pick it. PDF, DOC, DOCX, TXT, RTF, PNG or JPG, up to 8 MB.
- The form opens with the details AI found, including the job category. Check them.
If the file can't be read, choose another file or click Fill form instead.
Let AI write the description
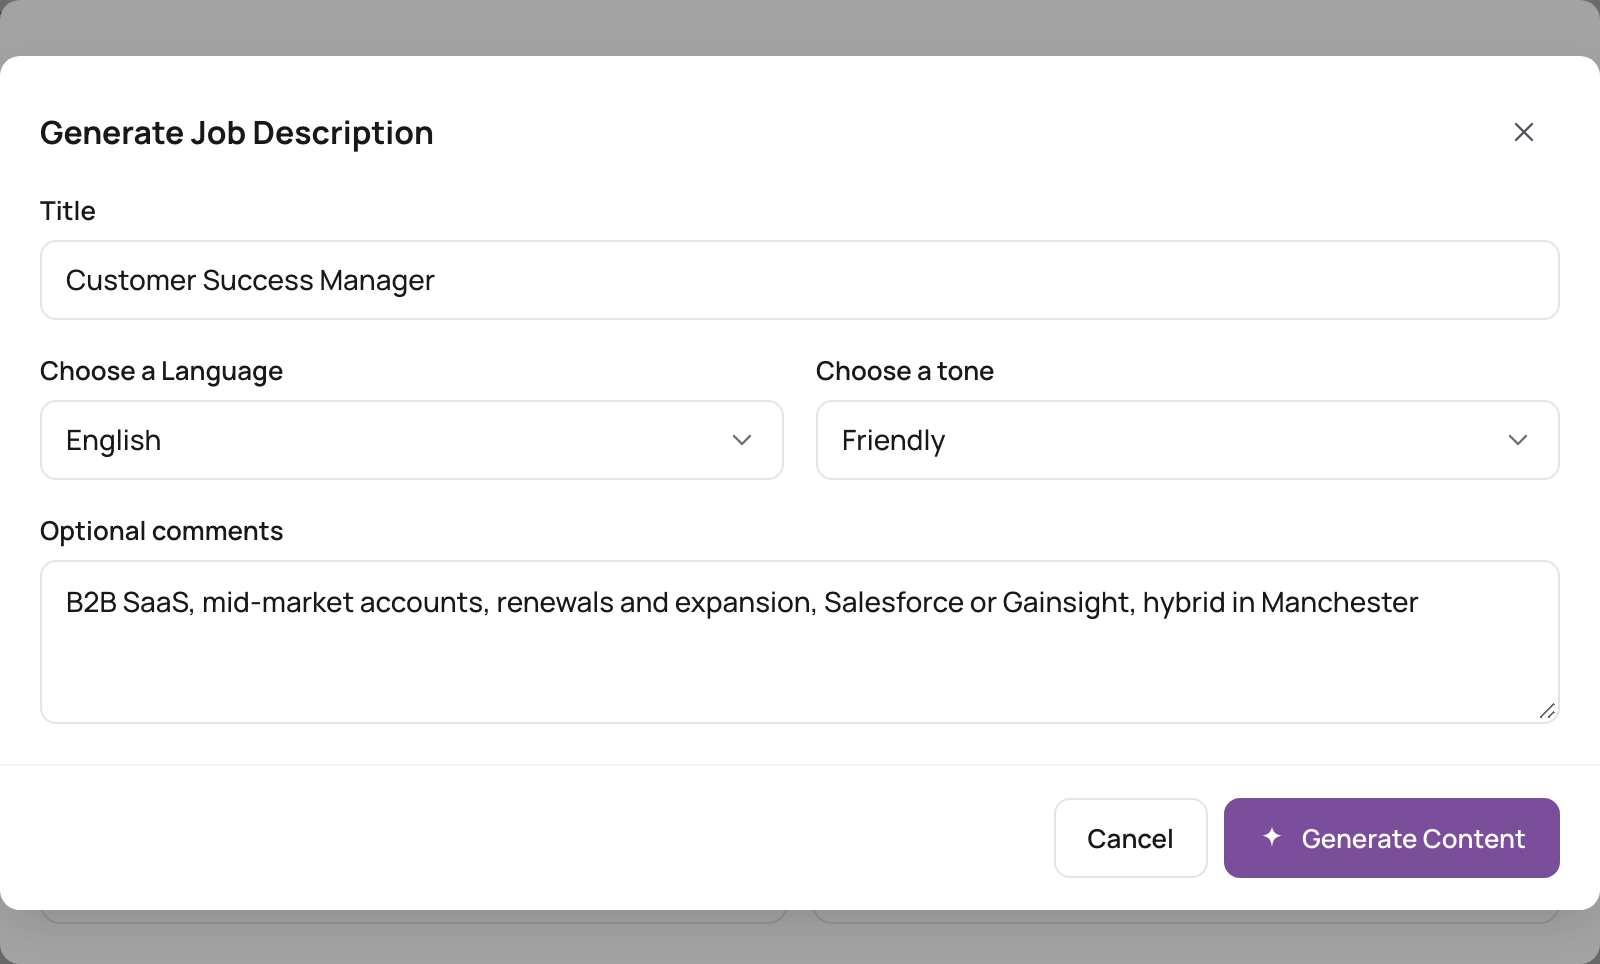
- Choose Generate with AI (or click Generate with AI on step 1 of the form).
- Enter the Title, Choose a Language and Choose a tone: Friendly (default), Professional, Casual, Youth, Formal, Witty or Persuasive.
- Optionally add Optional comments, for example skills or qualifications.
- Click Generate Content. AI fills in the Description, Responsibilities, Requirements and, when it can, the Job Category.
If you already wrote text, Talenteria asks before replacing it.
The five steps
Click Next and Previous to move between steps. Your administrator can rename fields and make them required in Job opening fields; below are the defaults.
1. Job Details
- Title, Job Category and Employment Type (required), Reference Number, Department.
- Description (required). Click + Responsibilities, + Requirements or + Job Benefits to add those sections; they show on the job page when filled.
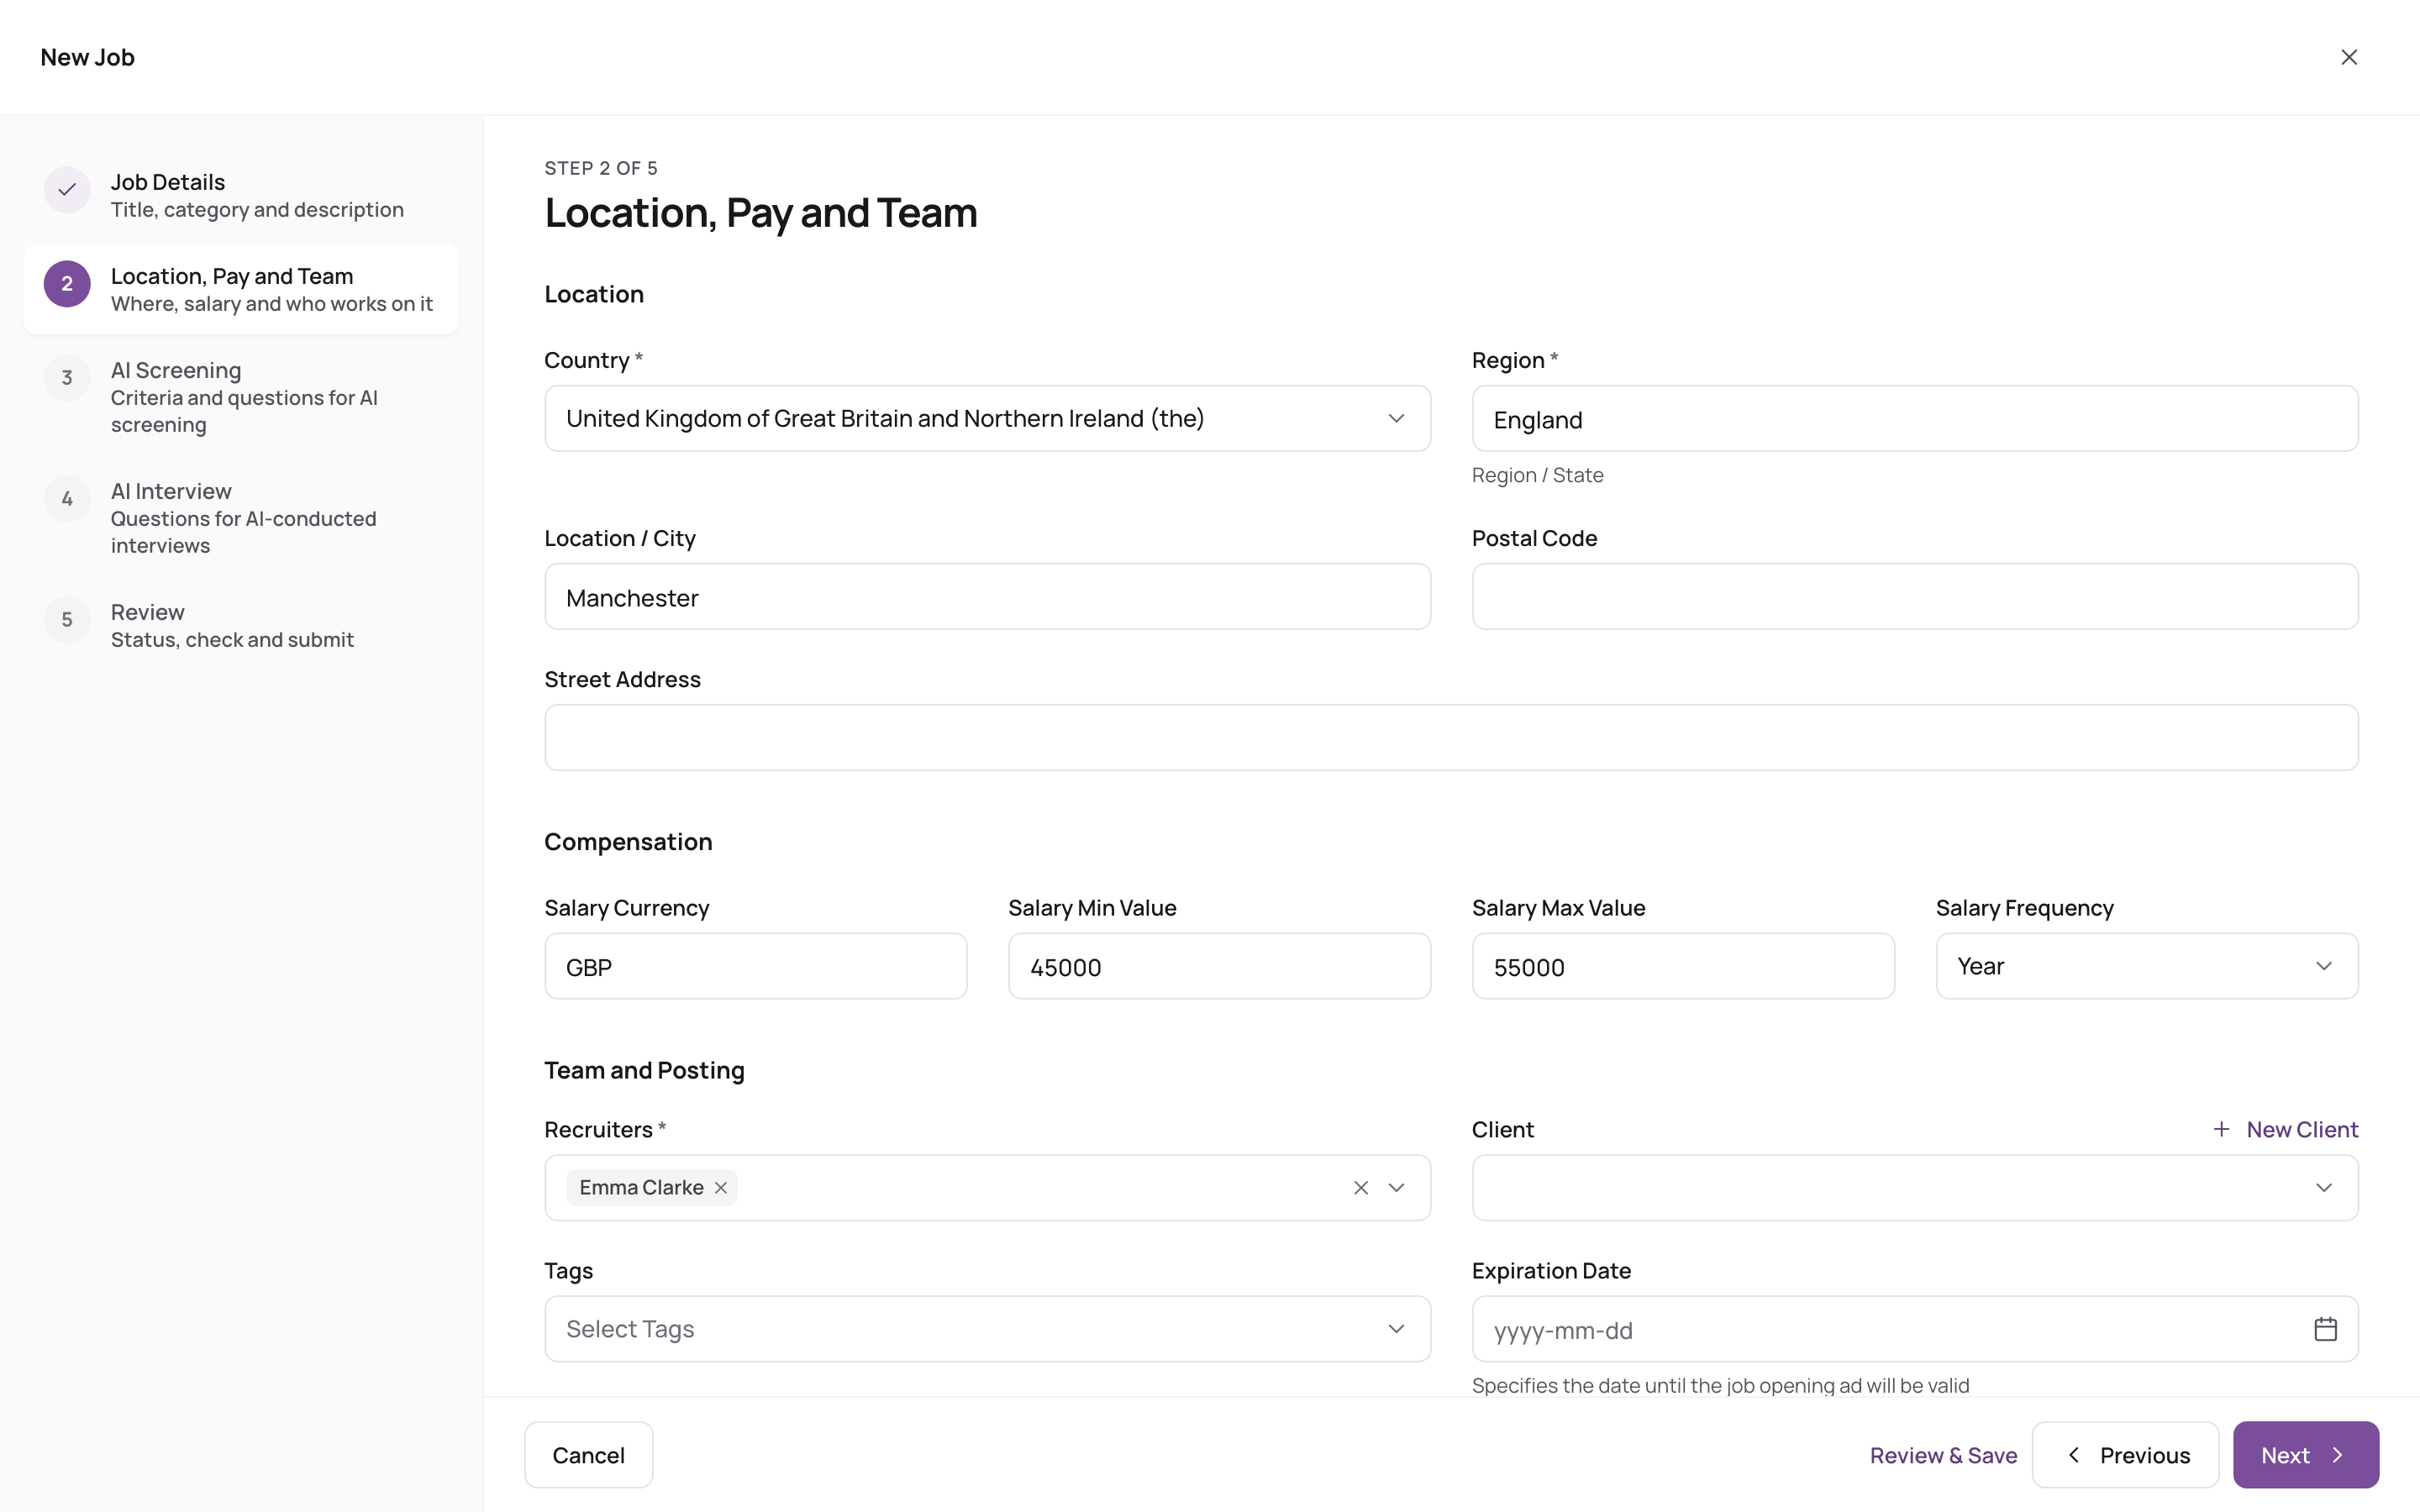
2. Location, Pay and Team
- Location: Country, Region, Location / City (required), Postal Code, Street Address.
- Compensation: Salary Currency, Salary Value (required once a currency is set) and Salary Frequency.
- Team and Posting:
- Recruiters: at least one. Recruiters see and work on this job.
- Client: the client or department the job is for (click New Client to add one).
- Tags and Due Date. After the due date the job no longer shows on your career site.
- Custom Details: your account's own job fields.
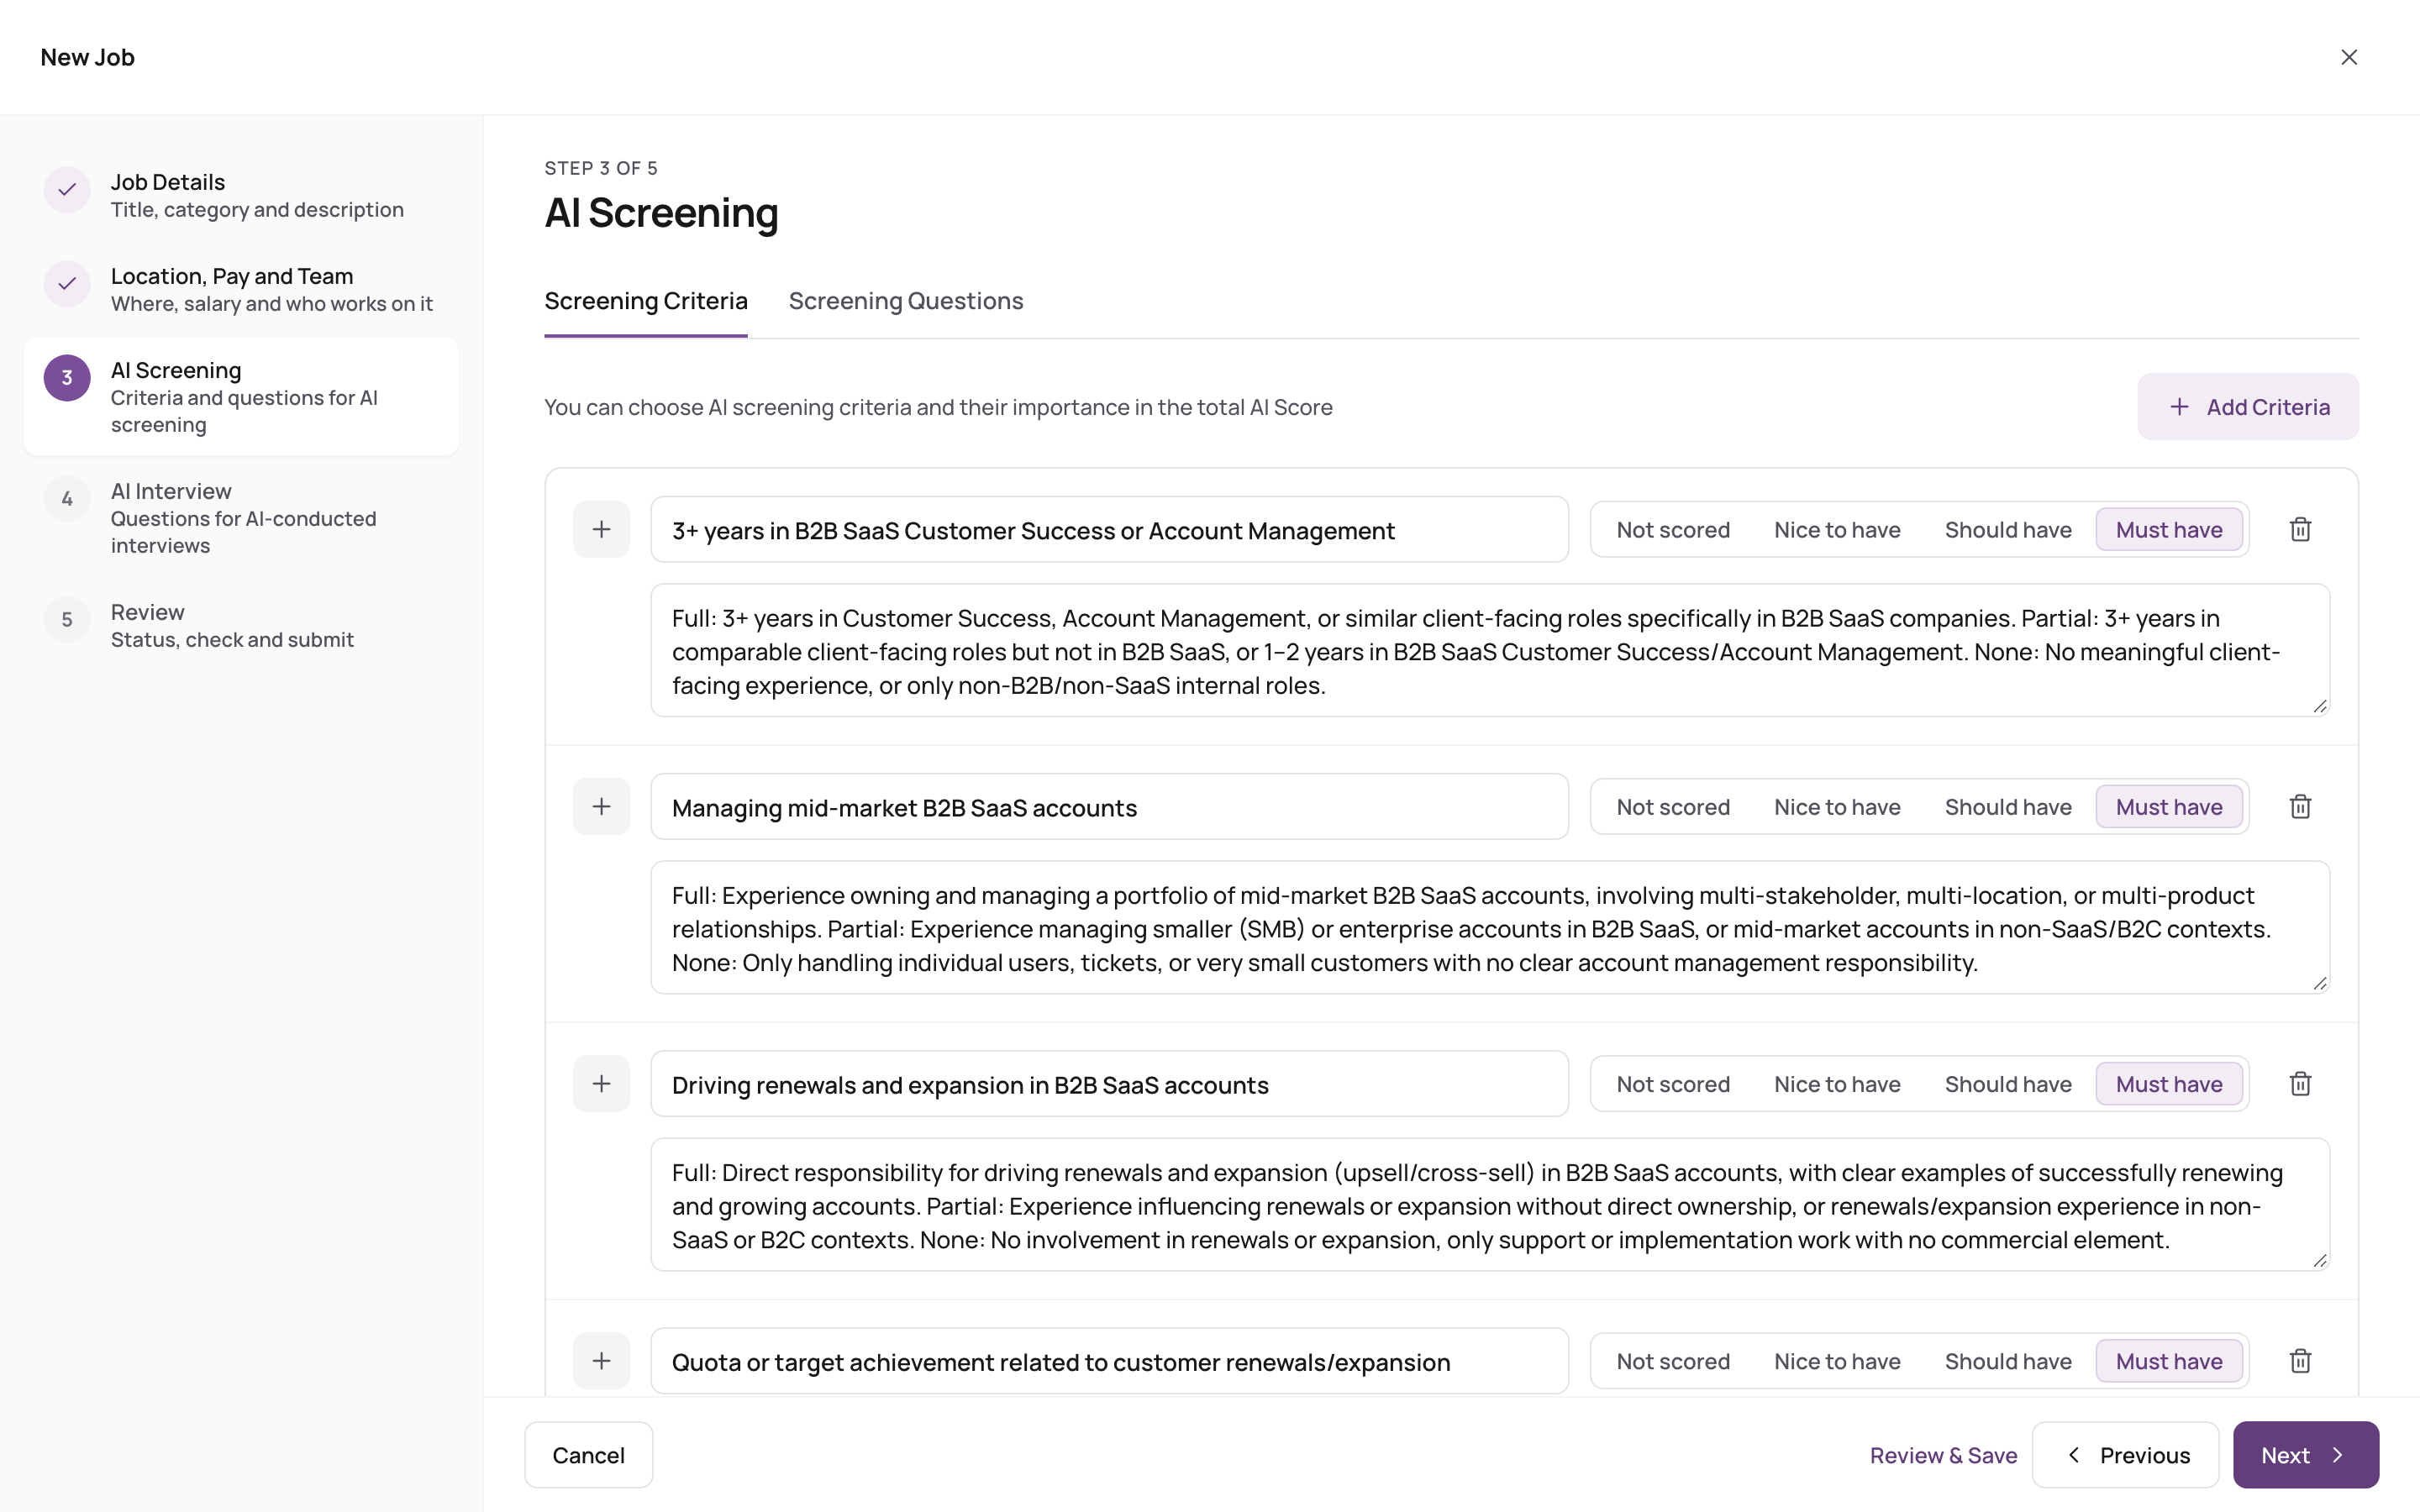
3. AI Screening
What AI looks for when it scores candidates. When you reach this step, AI reads the description and suggests criteria, required skills and an education level. If the description is very short, Talenteria asks you to add one first; you can Continue without description.
See Set screening criteria for a job.
4. AI Interview
Questions for AI interviews on this job. Click Add Question or Generate Questions with AI. Each question can have an Expected Answer (optional). See Create an AI interview.
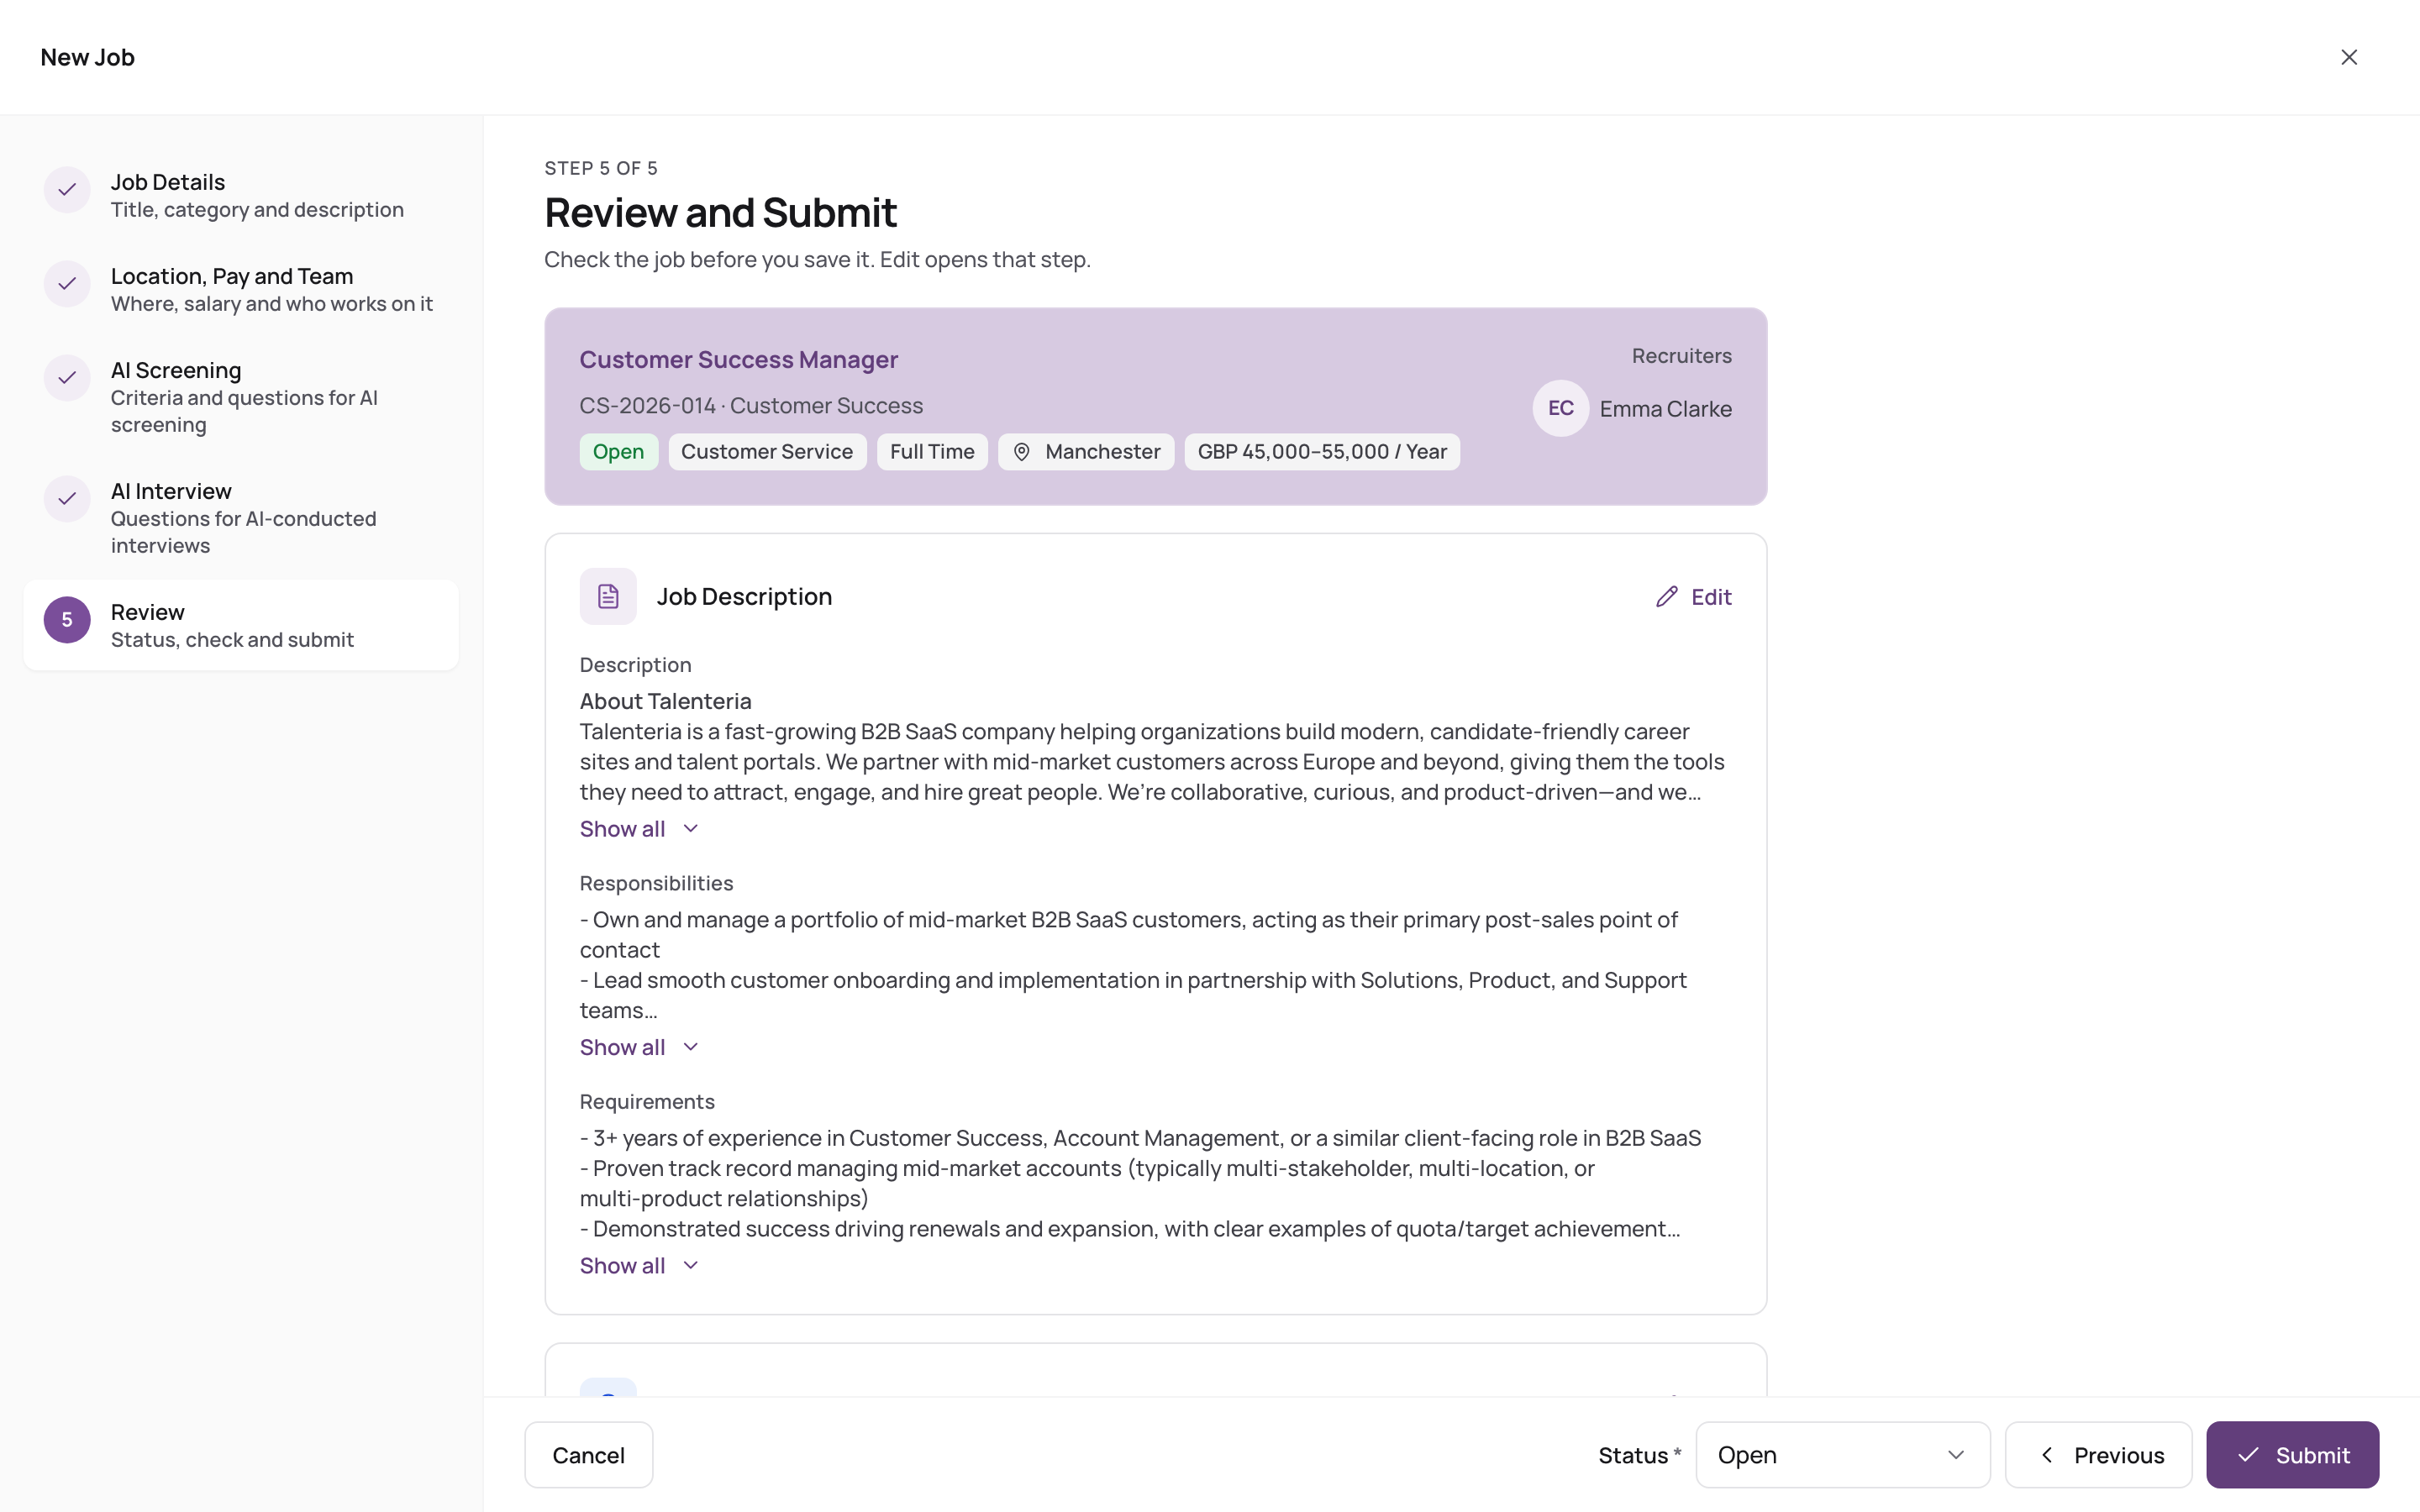
5. Review
Check each section; click Edit on a section to go back to it. Choose the Status:
- Open (default): the job is live on your career site and job boards.
- Draft, On Hold or Closed: saved, not published.
If all active job slots in your plan are in use, the status defaults to Draft and you can open the job later.
Click Submit.
After saving
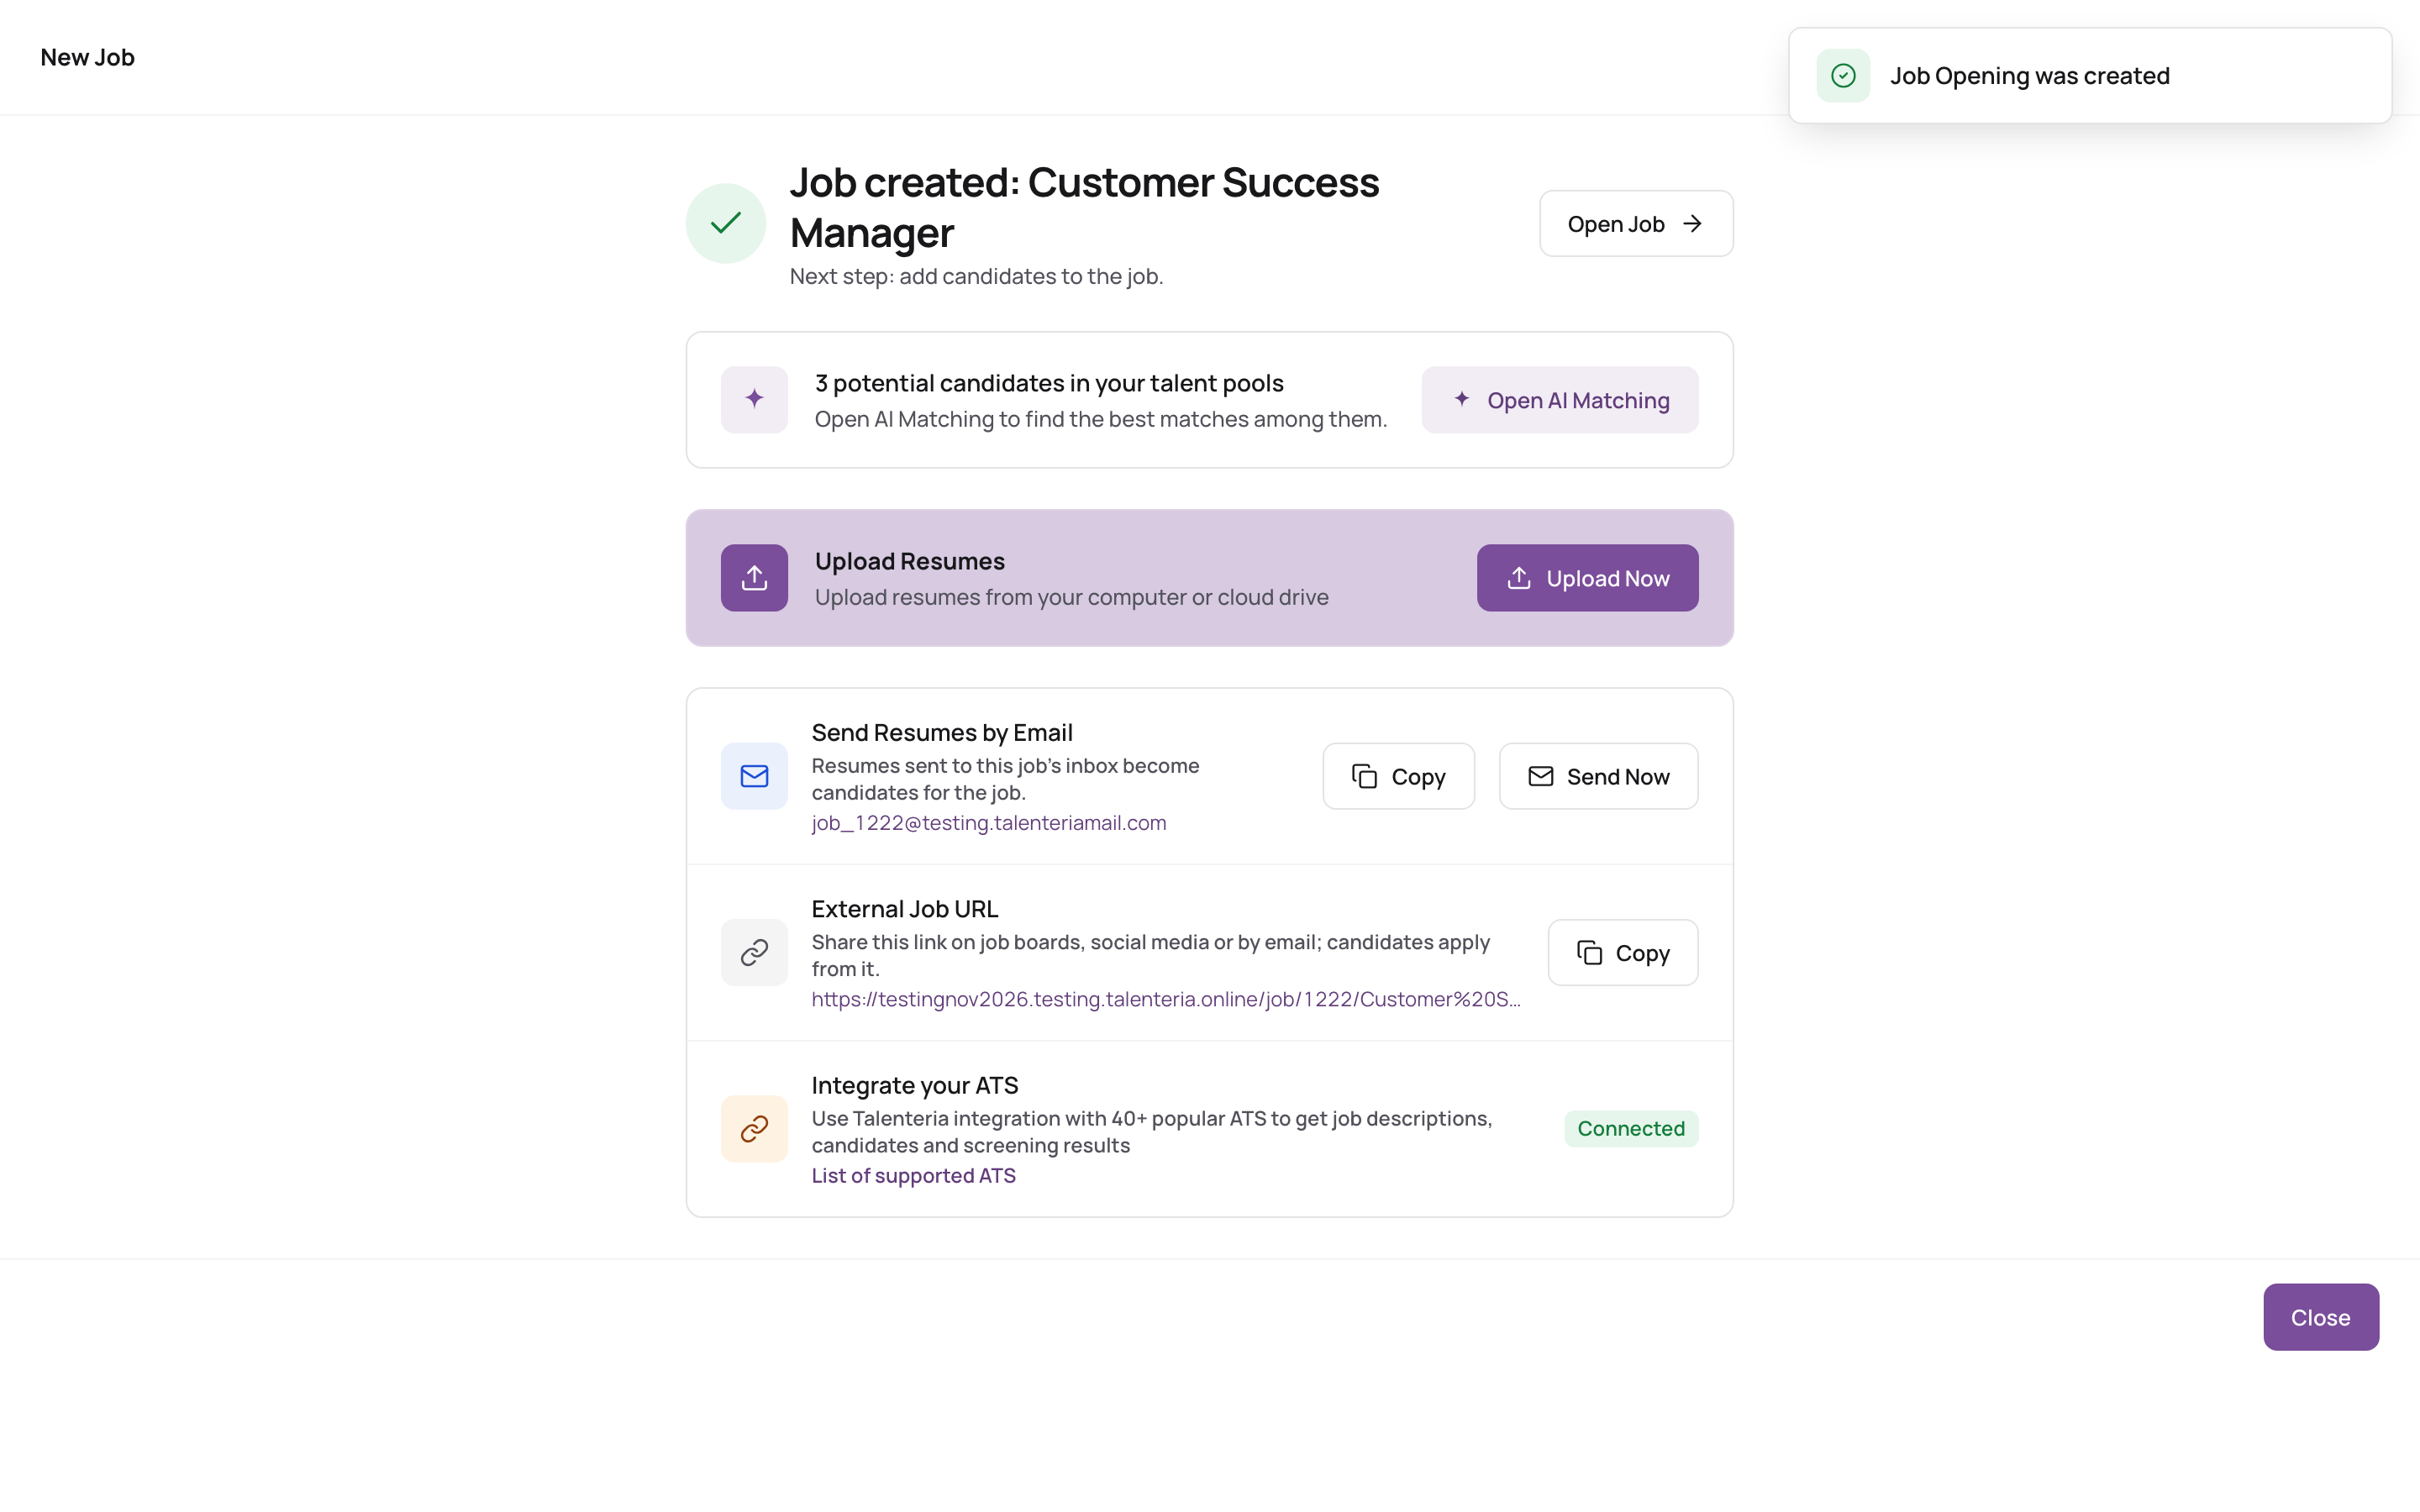
Talenteria shows Job created and the next step: add candidates. From there you can:
- Upload Now: upload resumes to the job.
- Send Resumes by Email: copy the job's email address; resumes sent to it are added as applicants.
- External Job URL: copy the job's link.
- Open Job or Open AI Matching.
Create a job by email
- Choose Send by email and copy the address shown (or click Open email).
- From the email address of your Talenteria account, send the job description as an attachment. One file per job.
The job is created as Open and you become its recruiter. The text of the email itself is not used. If the file can't be read, you get a reply saying why.
Edit a job
Open the job and click Edit. The same five steps open; click Save & Close when done.